
When this big shiny trailer first came home, it still had a lot of the original systems that no longer worked and needed replacement – primarily the old water heater and furnace, which each seemingly weighed a ton.
The new water heater and furnace will be contained in a single, space-saving unit: the innovative and energy-saving TwinTemp tankless water heater and hydronic heating system made by PrecisionTemp, right here in the USA. They also have water-only tankless heaters.
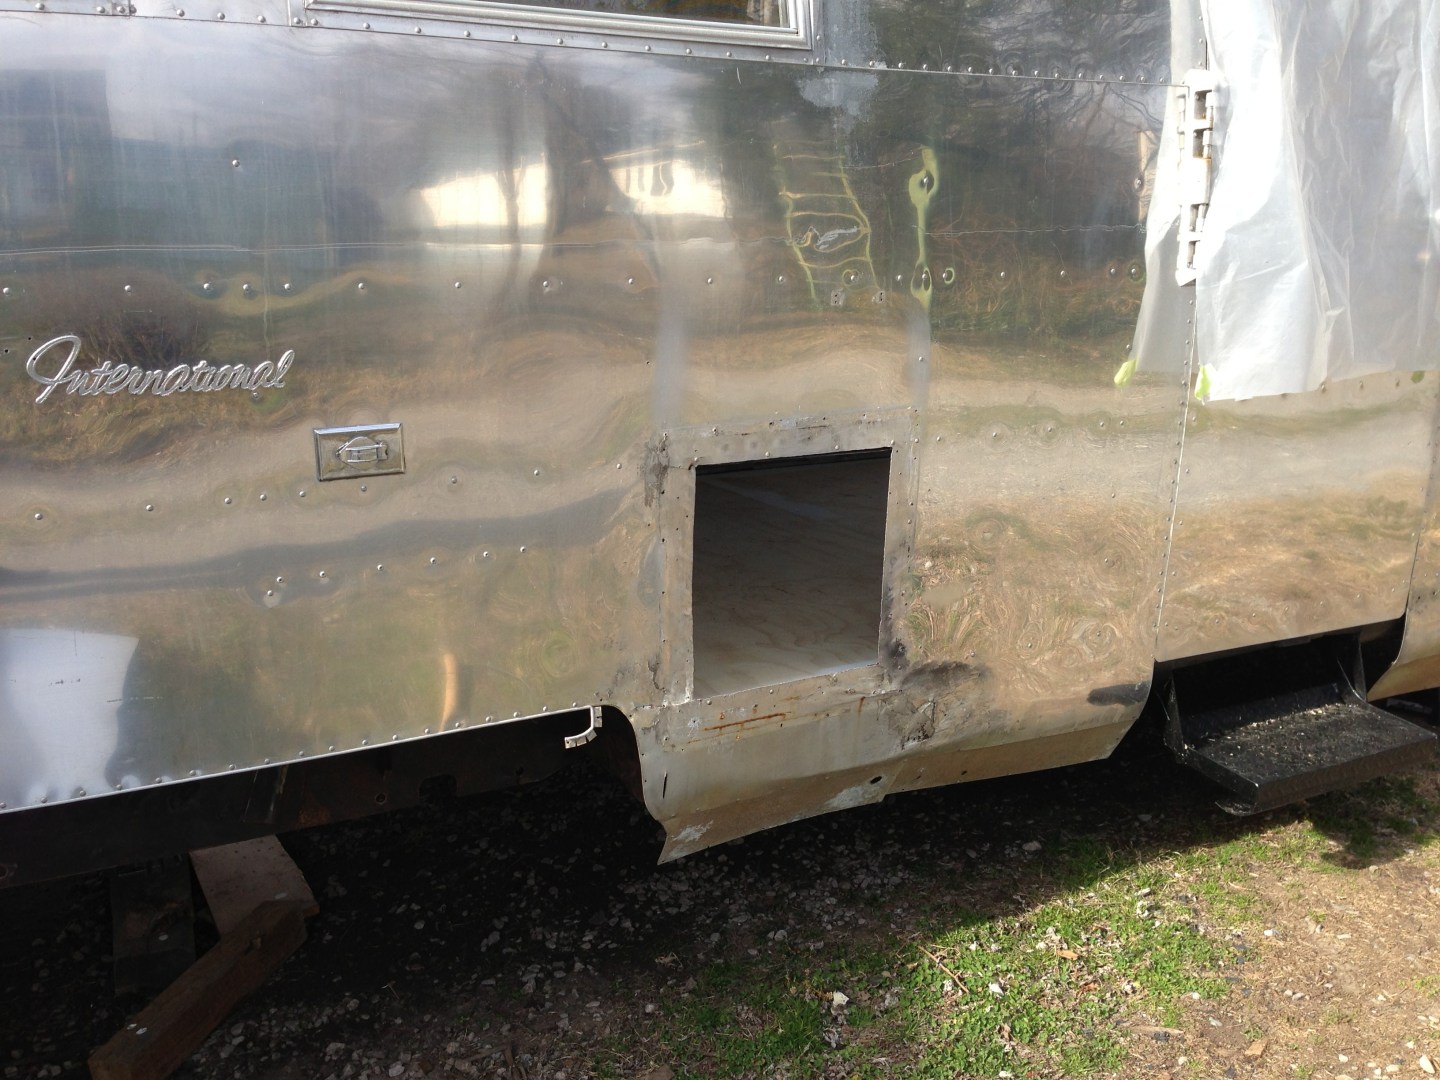
Because this new unit takes up about half the space the old furnace and water heater did, replaces two devices with one, and vents through the floor of our Airstream using an automotive-style tailpipe, I now had two gigantic access holes/vents in the trailer sidewalls that were no longer needed. Time to learn to patch aluminum! 😬

After ordering some new sheets of 2024-T3 clad aircraft-grade aluminum (which can be polished) and a few nights of sorting a bucket of various sized rivets I’d obtained from a friend into a chip ‘n’ dip bowl, we were ready (maybe?) to get started.

If you’ve ever riveted anything or are looking to, you’ll learn that clecos are your best friend and worth their weight in gold. These handy little devices are like binder clips for riveting: they tightly hold the two sheets of aluminum together and in place after you drill holes for your rivets, before the rivet installation.


In this case, we’re buck riveting the aluminum exterior patches, which requires access to the back side of the wall and rivets themselves. Blind rivets (or “pop” rivets) are used when access to the joint is limited to only one side, such as when installing the interior walls, or attaching things to the walls.
Here’s a post from Airstream with lots of interesting facts about the history of rivets and how they work. There are additional instructions from Vintage Trailer Supply here.
When buck riveting, you pneumatically hammer on the head of the rivet with a rivet gun. It’s hammered against a steel block, called a bucking bar, so the backside of the rivet flattens and spreads out. The bucking bar is held – usually by a second person – inside the trailer, to provide resistance to hammer the rivet into.
This is the best way to install any rivets in the outer trailer shell that need to be waterproof, due to the way they mushroom out behind the two pieces being riveted together to create a better seal.
Since it requires the inner walls be removed, this is also the only chance we’ll have to make any repairs this way.
Riveting was actually rather fun, other than the noise, and some numbness of hands and arms for a while after the hammering ceased. It was exciting to see a formerly jagged, ugly hole turn into a much more visually-pleasing – and most importantly, waterproof – exterior trailer wall!


Now that it’s hopefully watertight, the trailer is ready for more reassembly from the inside! I can finally insulate the walls now that I don’t need access to the inside for riveting, add more wiring, follow that with a second layer of insulation, then reinstall the aluminum interior walls.
It’s so much fun to see the transformation happening now that the projects are smaller, less dependent on weather, and more easily accomplished!
